


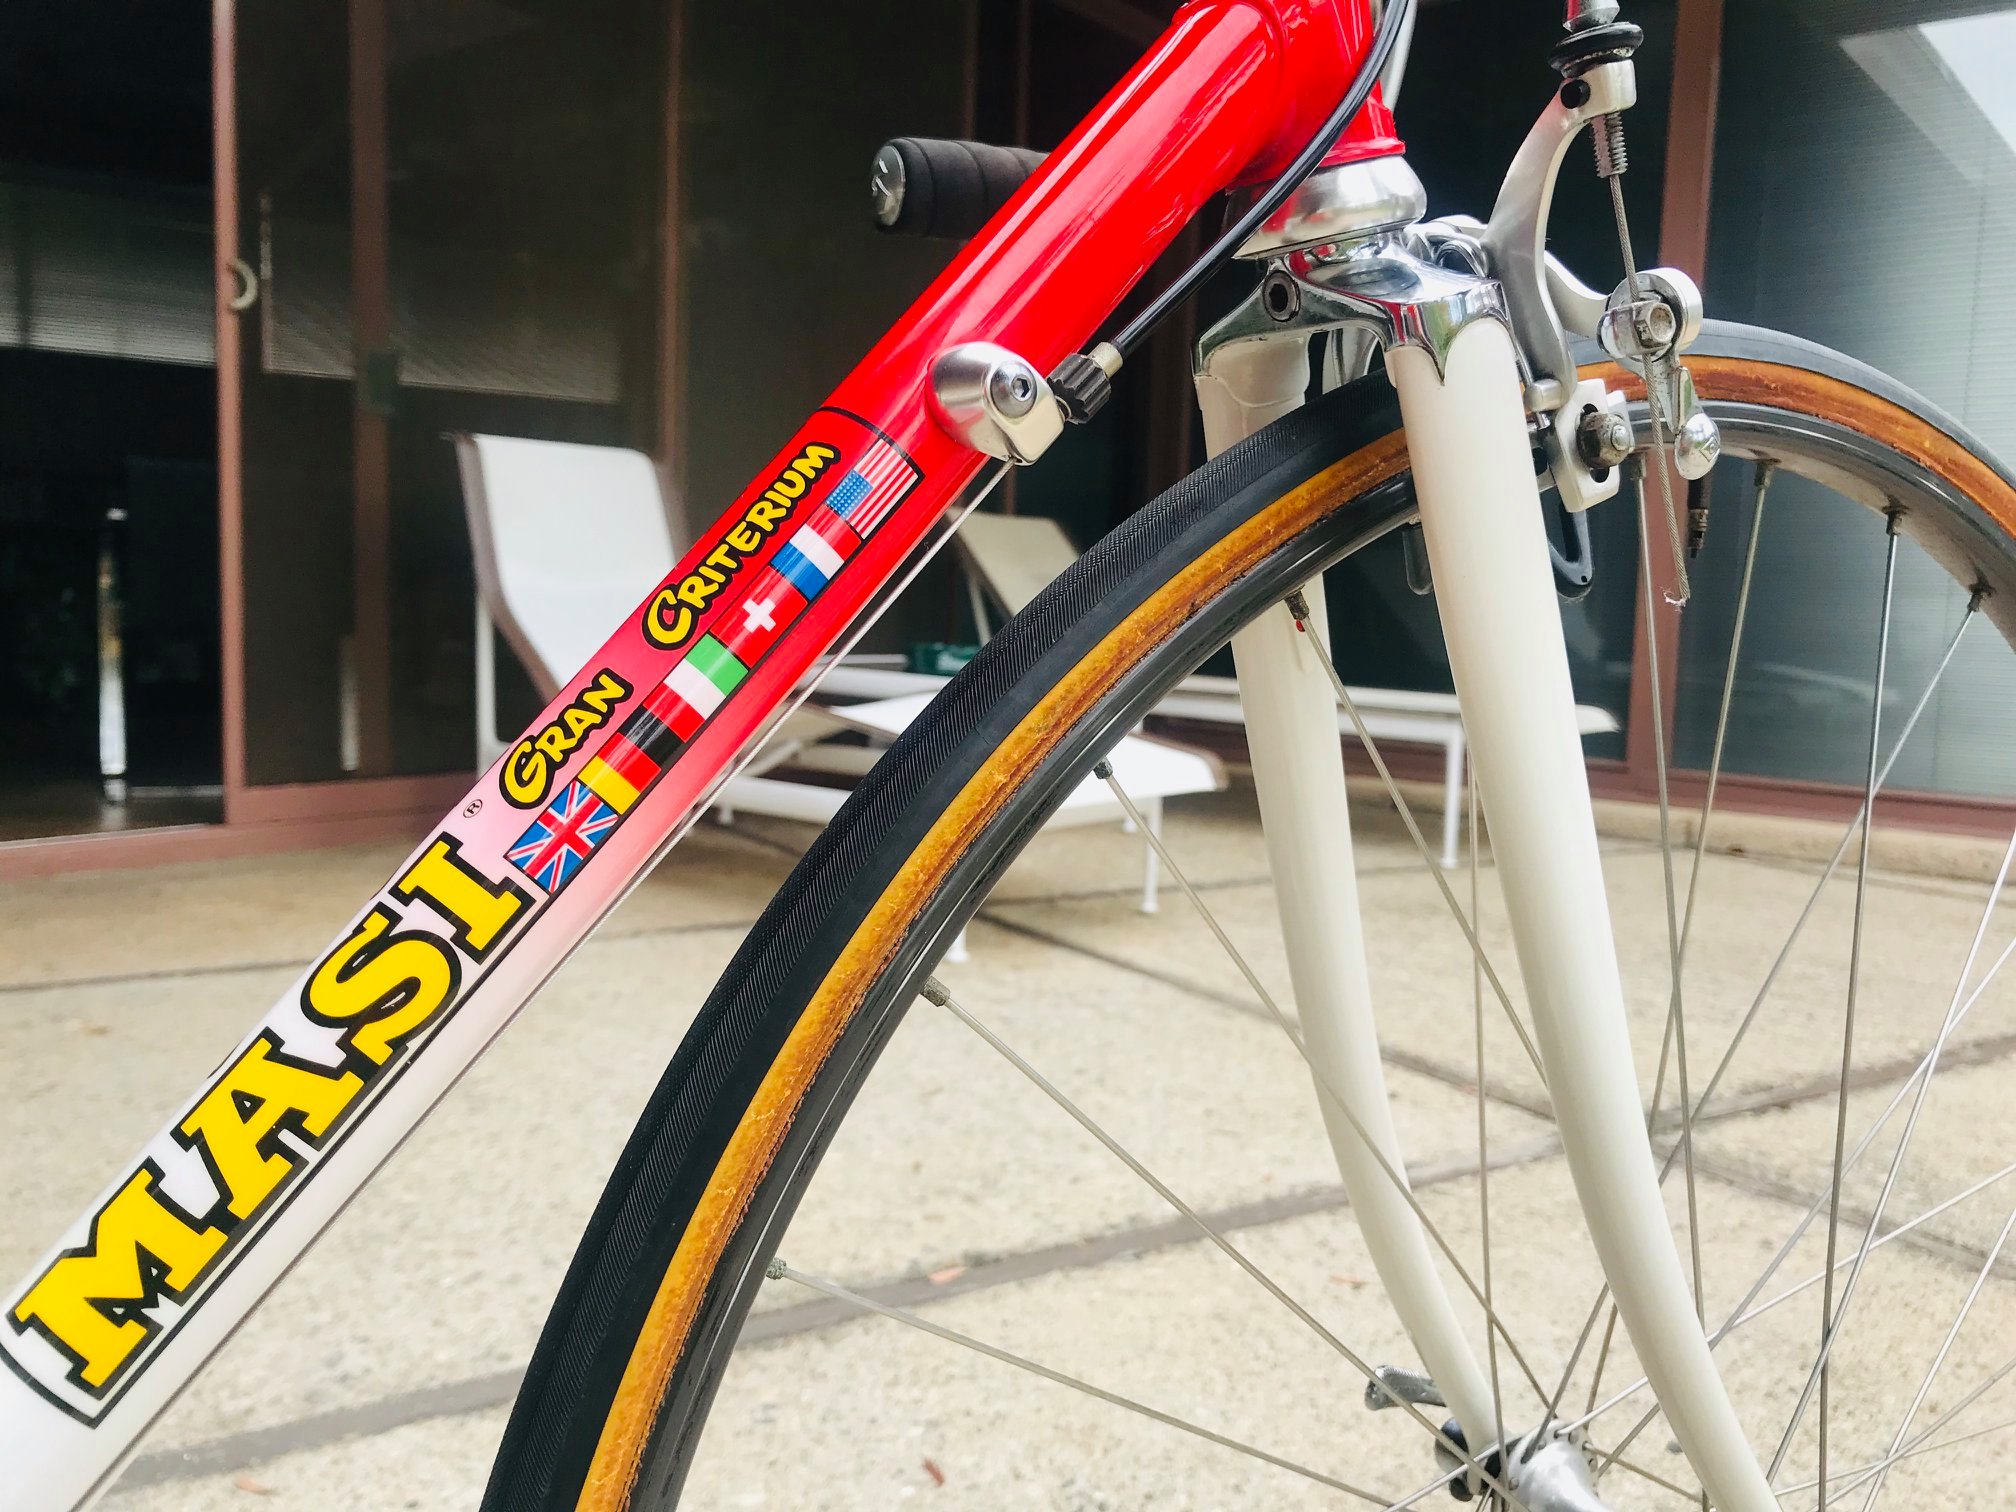
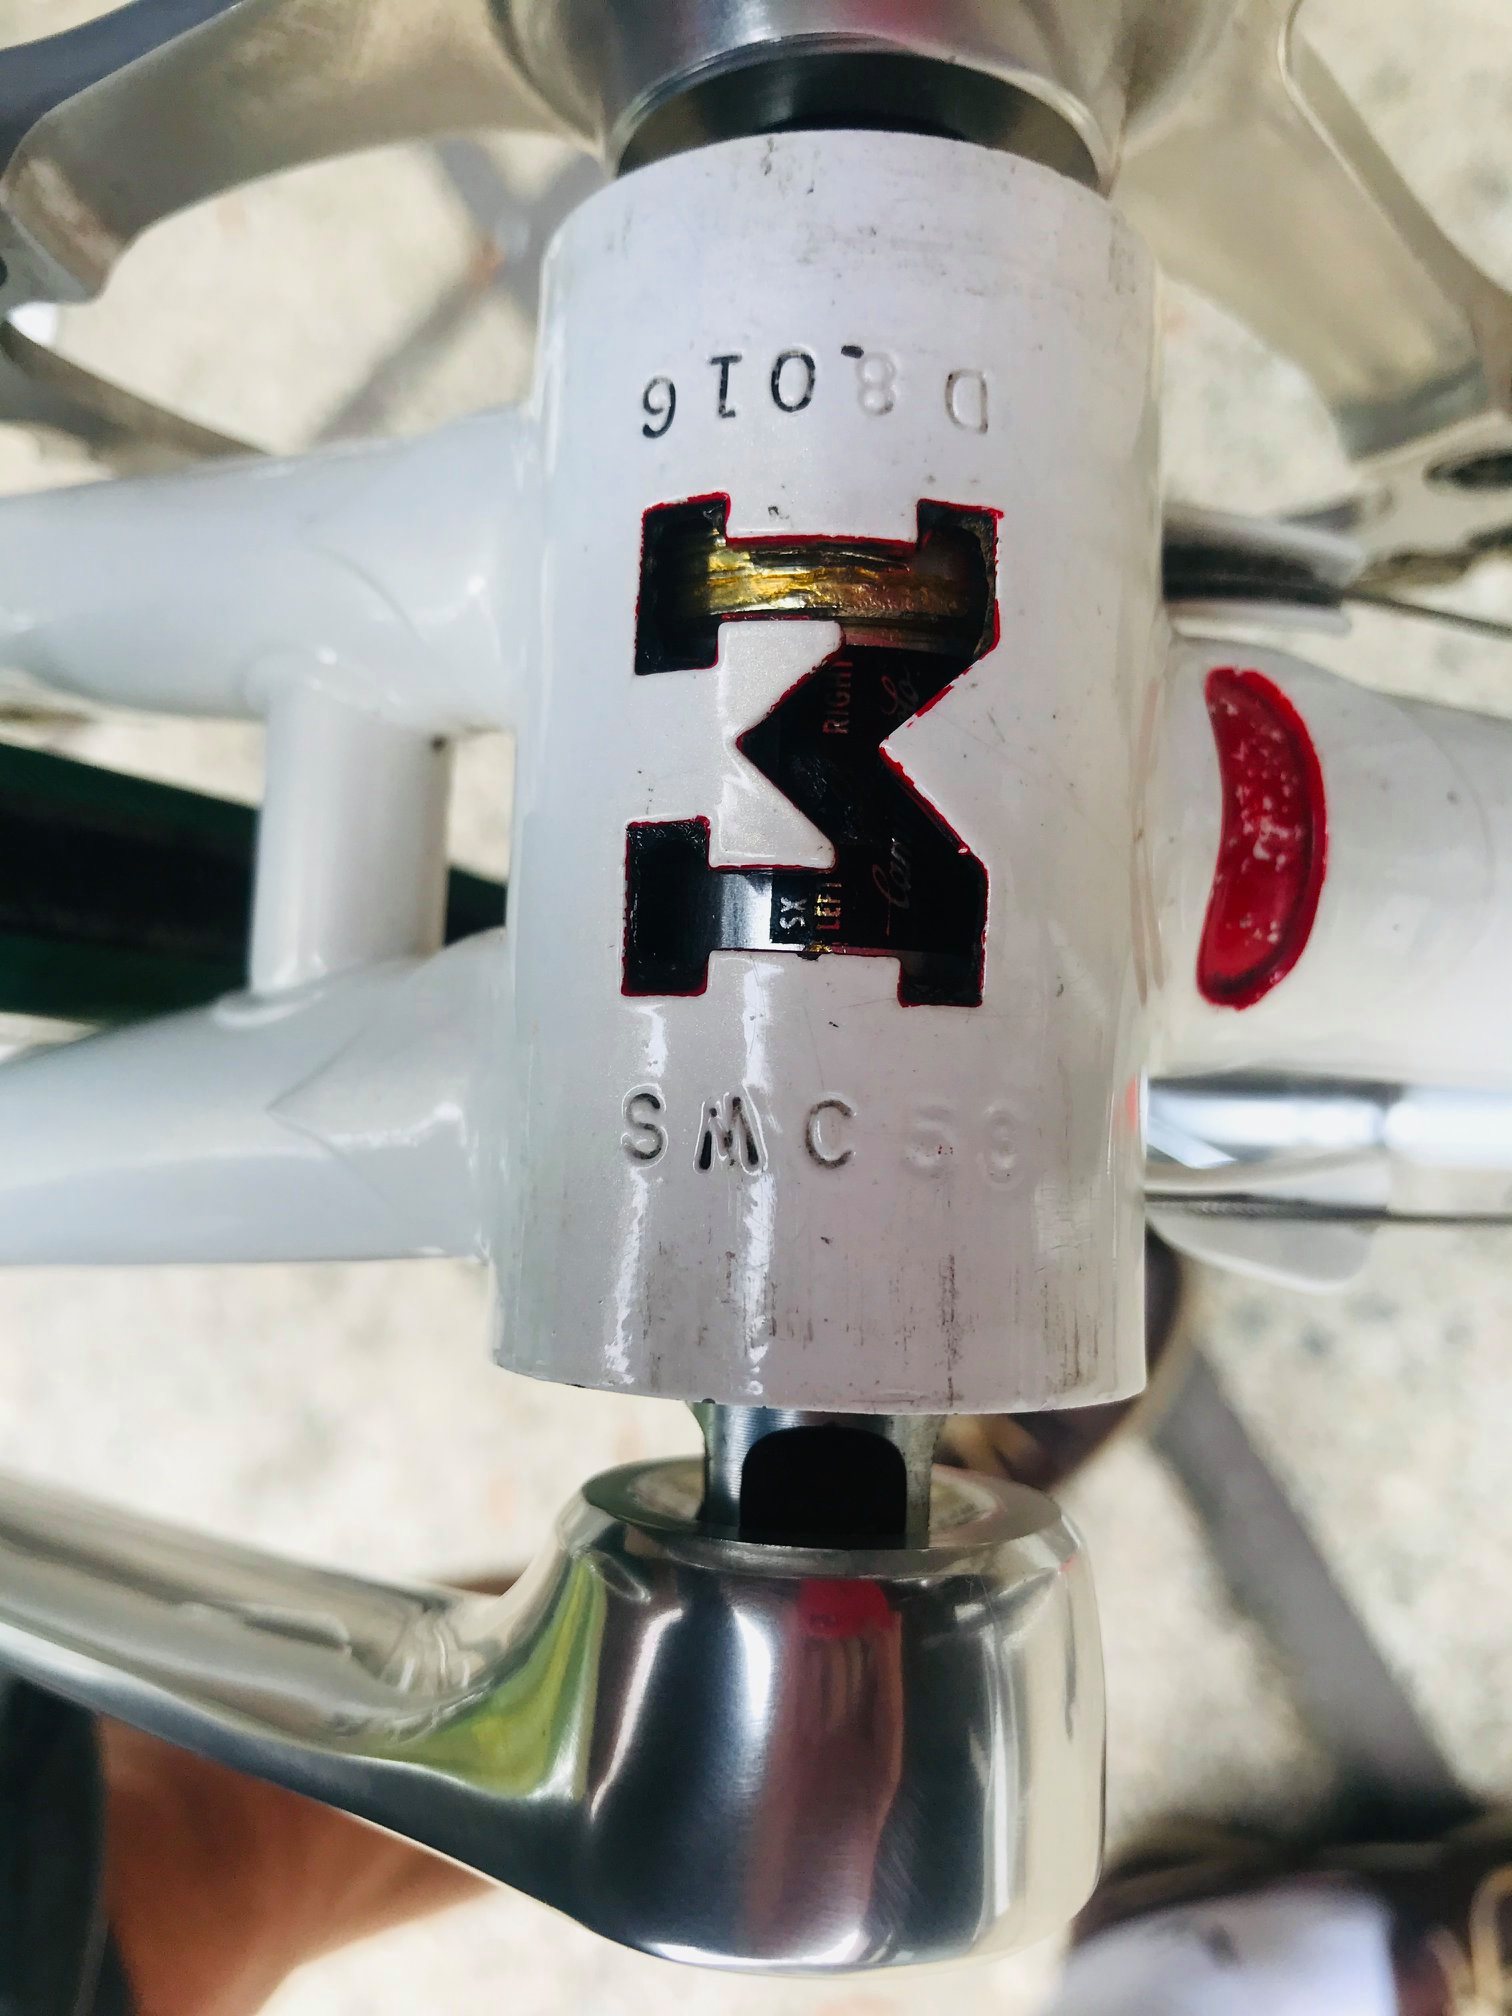
Forming tapered tubes for bicycle frames
I was recently asked, “How are tapered tubes formed for steel bicycle frames, like chainstays, seatstays, and fork blades?”
When I had my frame building shop in Worcester, England, I was only 25 miles from the Reynolds tube factory in Birmingham, and I would often visit.
I have witnessed first-hand the various processes of tube manipulation, and the machinery used for that process. Also, I was a Machine Tool Engineer prior to building bicycle frames, so I understood the workings of these special purpose machines.
I could not find a video of the actual Reynolds machines, but I did find the one above of a tapered tube being formed. Not a bicyle tube, but the principle is the same. As you can see the process is done “Cold.”
The tube walls are relatively thin and flexible enough to be manipulated without heat, using the required force, usually applied by mechanical means or hydraulic oil pressure. The process, (If one thinks about it.) is not unlike a potter forming pottery from soft clay on a wheel.
You will also notice the tube is held in the machine at both ends, so it cannot grow in length as its diameter is squeezed smaller. That material must go somewhere, therefore, the wall thickness of the tube becomes gradually thicker towards the end, as the tube becomes smaller in diameter.
This is desirable, as the finished tube has a uniform strength throughout its length. Also, this cold manipulation “work hardens” the material, making it stronger by compressing the molecules or particles of the steel, tighter together.
These machines, once set run automatically. A long length of plain tube is fed into the machine, the taper is formed at one end and is then cut off automatically, and the tube auto-feeds in again. When the length of tube is used another again automatically takes up its place.
You will also notice that there is a liquid coolant running over the tube being worked during this process. This is usually in the form of a mixture of soluble oil and water.
Without it the pressure and the friction generated by this process would create a great amount of heat. This would not be good for the machine, or the product being produced.
I suggest you watch the video in “Full Screen” mode to fully appreciate the mechanical process involved. Here is the YouTube link if needed. https://www.youtube.com/watch?v=ZAnzRRjKPpc&t=3s
 Dave Moulton

Protest
In the UK this last week there was a big brouhaha over British Cycling partnering, and accepting sponsorship cash from Shell Oil. One would have thought that British Cycling would have at least gone with a British oil company like BP. Shell is an American company, partnered with a Dutch Company.
Perhaps that was the reasoning behind another protest in London when two young women threw tomato soup over Dutch painter Vincent Van Gough’s Sunflower painting. Fortunately, the painting was behind glass, so a quick once over with a paper towel and some glass cleaner, and the protest was nothing more than a waste of soup.
The protest was against the use of oil. I would have thought in the UK above all places, the price of gasoline, (Petrol.) is so high that most people are only using it as is absolutely necessary.
I am sure no one is driving around looking for a Shell Station to buy that particular brand of fuel because they saw a Shell Logo on a cyclist’s jersey. That is the crux of it. We all know burning fossil fuel as bad for the environment, the problem is consumerism in general.
I hate the type of protest that draws attention to a problem but offers no solution to the underlying issue. Throwing soup over works of art or giving British Cycling shit for taking money that the sport of cycling can put to good use, solves nothing.
In the 1970s and 1980s I produced a few thousand bicycle frames and did so with a very low carbon footprint. Here we are thirty, forty or more years later, and people are still riding these same bikes. Most still have the original paint, so they don’t even need a re-paint.
Everything produced today has built in obsolescence, including bicycles, and especially phones and other electronic devices. Most made in China from materials derived from oil, using electricity produced using China’s abundant supply of cheap coal.
I have done my bit for the environment and continue to do so. I don’t eat meat, and I don’t buy stuff I don’t need. I have clothes in my closet that probably older than most of the people protesting on the streets today
And if a large corporate oil conglomerate wants to give me money, they can contribute copious amounts of cash by the cartload. I’ll take it
Thank you in advance 😊